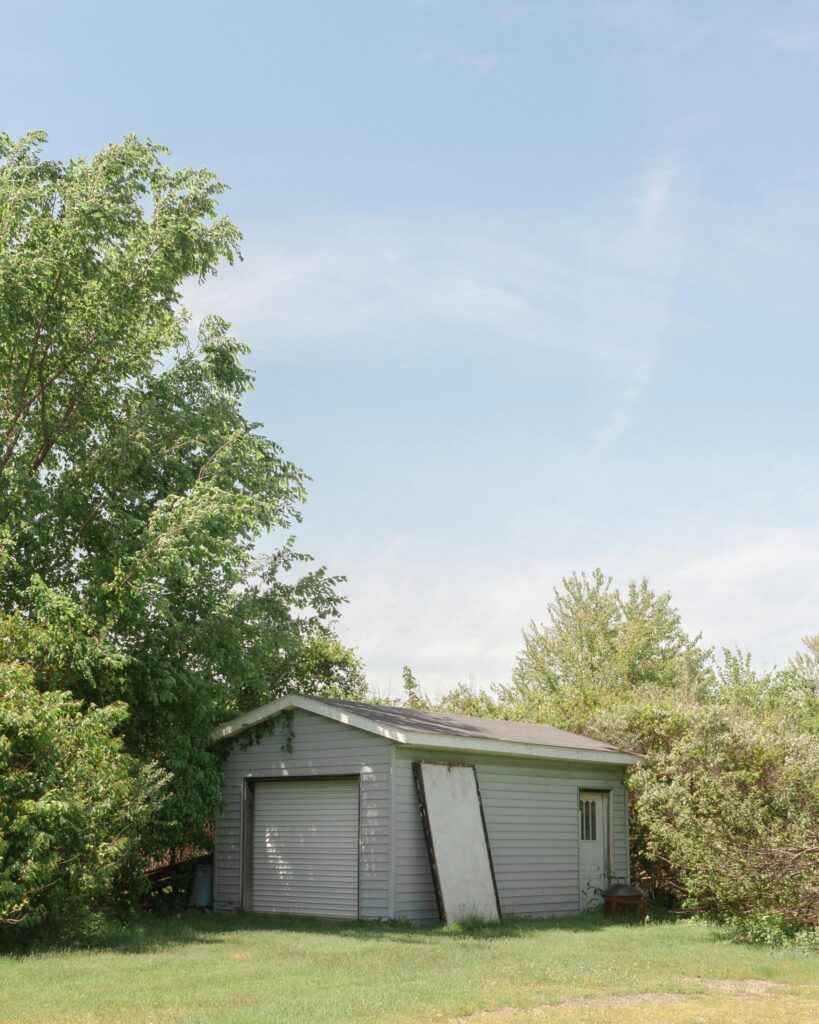
Building a DIY shed can be a rewarding project that enhances your backyard and provides much-needed storage space. Follow this comprehensive guide to ensure your shed is functional, durable, and aesthetically pleasing.
Step 1: Determine the Purpose and Size
- Purpose: Decide what you need the shed for. Whether it’s for garden tools, storing seasonal items, or serving as a workspace, the purpose will influence the size and design.
- Size: Choose a size that meets your needs. A common choice is an 8×10 ft shed, offering ample space for storage without being overly large.
Step 2: Plan the Location
- Location: Select a flat, well-drained area in your backyard. Avoid low-lying areas prone to flooding. Consider proximity to your garden for convenience.
- Regulations: Check local zoning laws and regulations to ensure compliance with building codes.
Step 3: Design the Shed
- Style: Opt for a simple gabled roof design for ease of construction and effective water drainage.
- Functionality: Design the interior to include shelves, hooks, and storage systems for optimal organization.
Step 4: Select Materials
- Wood: Choose durable, weather-resistant wood, such as pressure-treated lumber, to withstand moisture and rot.
- Roofing: Select roofing material that is waterproof and weatherproof, such as corrugated metal or asphalt shingles.
Step 5: Budget Planning
- Cost Estimate: List all materials and tools required, and estimate costs. Consider purchasing recycled materials or DIY components to save money.
- Tools: Ensure you have the necessary tools, such as saws, drills, measuring tape, and levels.
Step 6: Draft a Materials List
- Lumber: Calculate the quantity and type of wood needed for the walls, floor, and roof.
- Fasteners: Include nails, screws, and bolts for securing the structure.
- ** Roofing Material:** Select appropriate roofing material and insulation if needed.
Step 7: Set Up the Site
- Clear the Area: Remove any debris, grass, or obstacles from the chosen location.
- Prepare the Base: Lay down a gravel base for drainage and stability. Use a level to ensure the base is even.
Step 8: Build the Foundation and Support Structure
- Base: Secure the shed’s base with gravel to prevent sinking and promote drainage.
- Frame: Construct the frame ensuring it is square and aligned correctly.
Step 9: Construct the Walls
- Wall Assembly: Carefully cut and assemble the walls, ensuring they are square and structurally sound.
- Paneling: Install siding or paneling for a finished look.
Step 10: Install the Roof
- Rafters and Roofing: Ensure the roof is pitched to allow water runoff. Secure roofing material properly to prevent leaks.
Step 11: Add Doors and Windows
- Door: Install a weatherproof door for easy access and security.
- Windows: Add small windows for light and ventilation, if desired.
Step 12: Insulate and Waterproof
- Insulation: Add insulation materials to regulate temperature, especially for climates with extreme weather.
- Waterproofing: Apply waterproof coatings or treatments to protect the shed from moisture.
Step 13: Paint or Stain
- Protection and Aesthetics: Paint or stain the shed to enhance its appearance and protect the wood from weather damage.
Step 14: Install Shelves and Storage Systems
- Interior Organization: Install shelves, hooks, and brackets to maximize storage space and keep items organized.
Step 15: Complete Exterior and Finishing Touches
- Landscaping: Add plants or a pathway to integrate the shed seamlessly into your yard.
- Final Inspection: Before completing, ensure all components are secure and meet safety standards.
Step 16: Obtain Permits and Inspections
- Compliance: Verify that the shed meets local building codes and obtain any necessary permits.
- Final Inspection: Conduct a thorough inspection to ensure all aspects of the shed are up to standard.
By following these steps, you can build a DIY shed that is both functional and visually appealing, providing essential storage and enhancing your backyard. Happy building!


